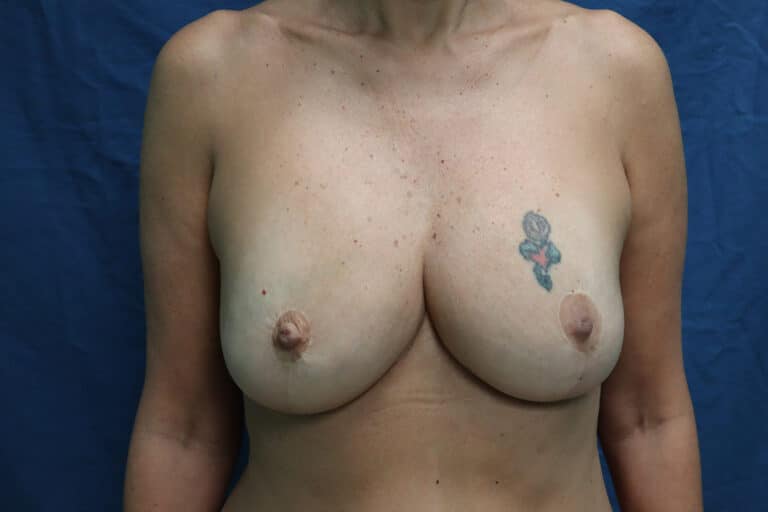
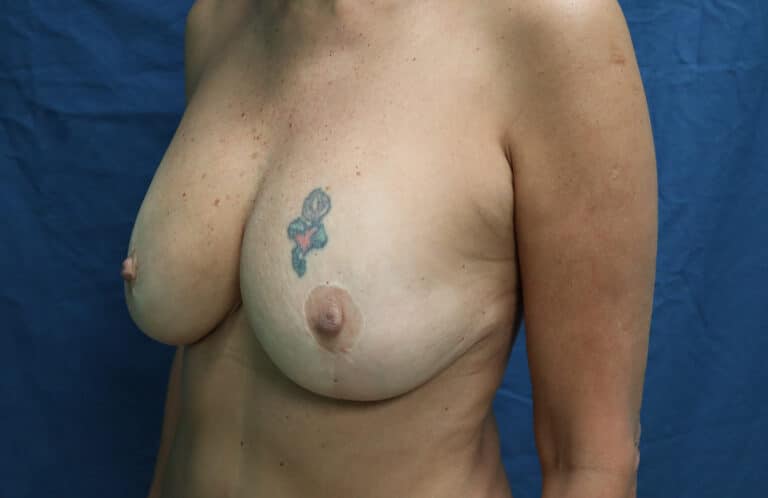
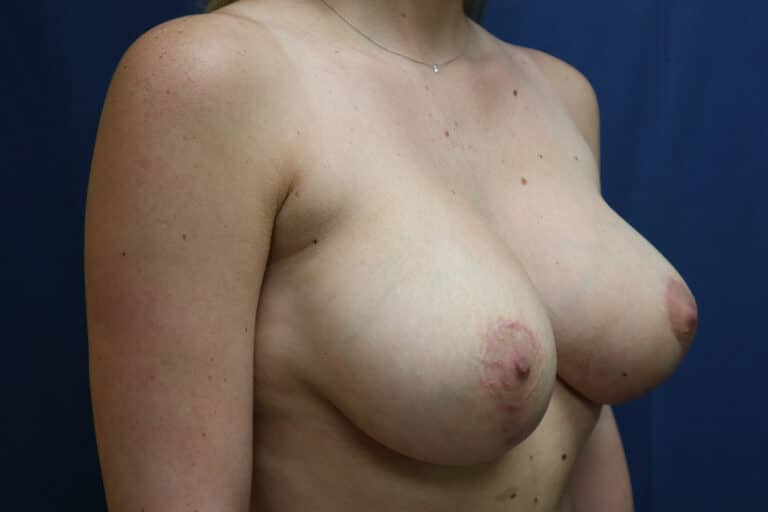
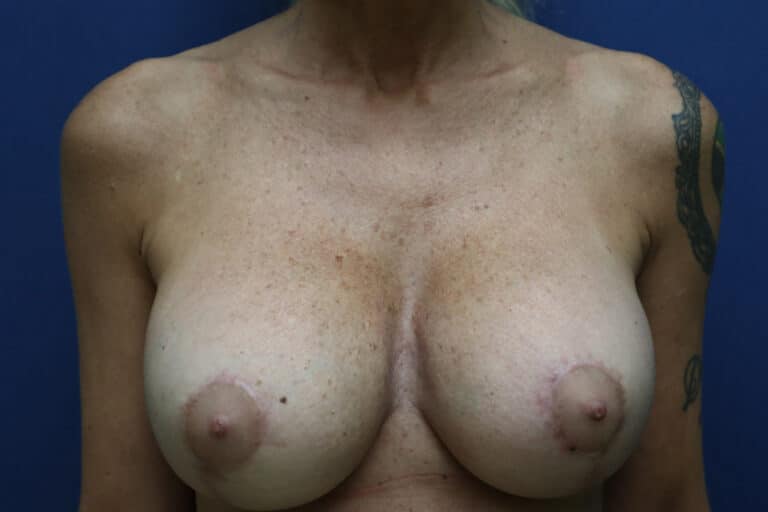
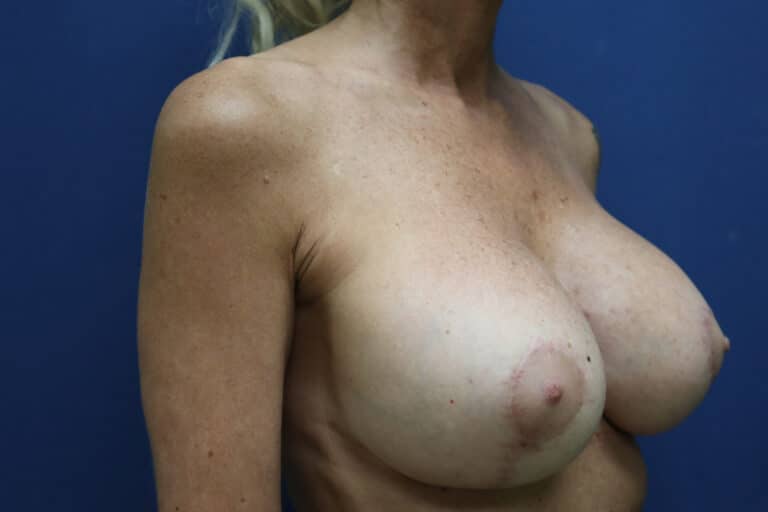
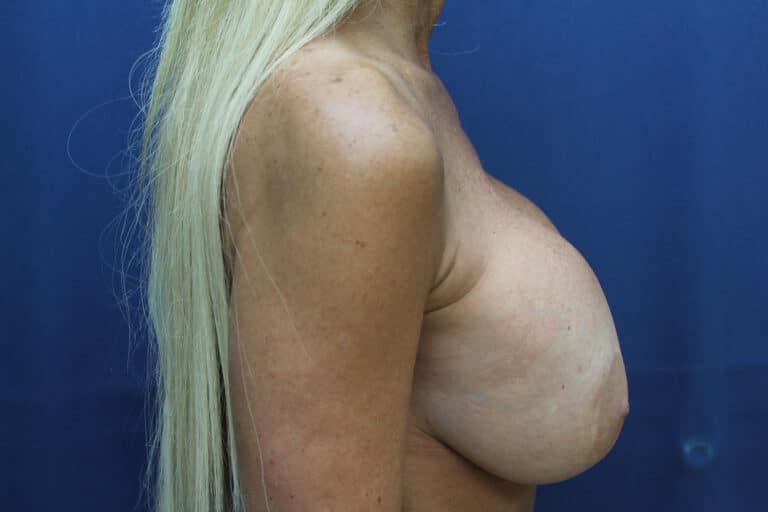
Breast Implant Exchange-Dr. Kenrick Spence Before and After Images Before and After Images Before and After Images Breast Implant Exchange-Dr. Kenrick SpenceView Case
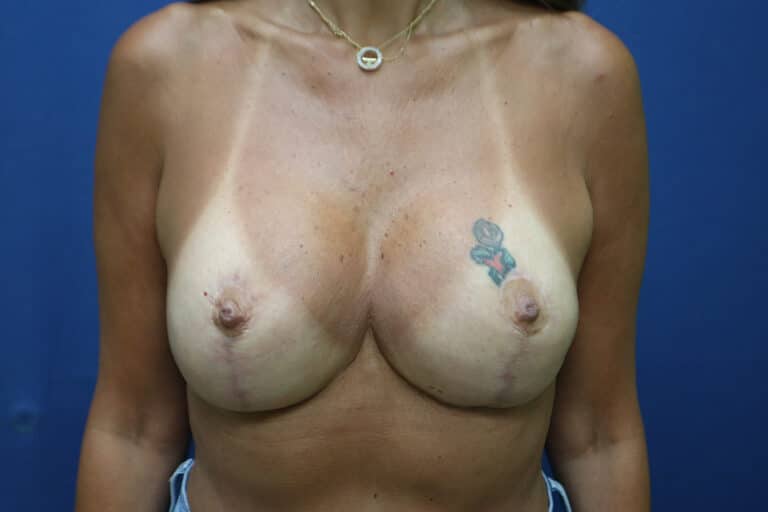
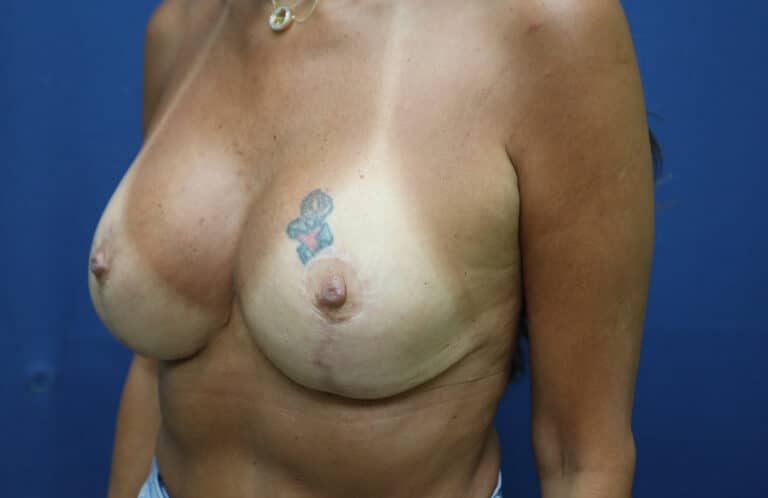
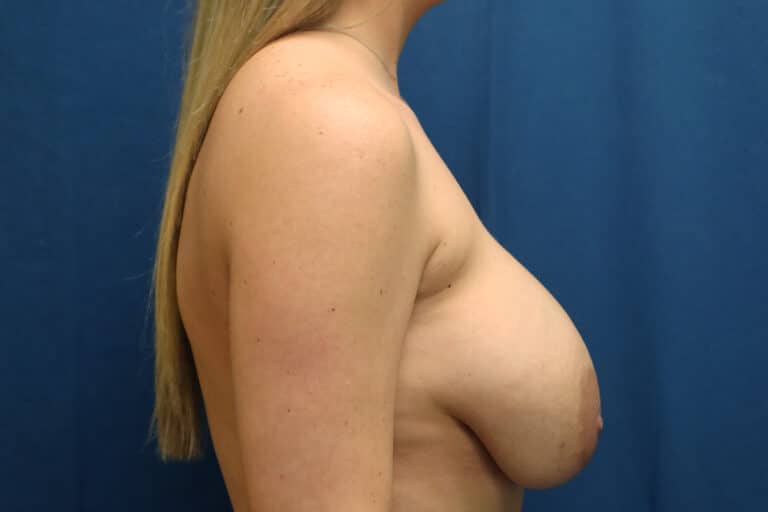
Breast Implant Exchange-Dr. Kenrick Spence Before and After Images Before and After Images Before and After Images Breast Implant Exchange-Dr. Kenrick SpenceView Case
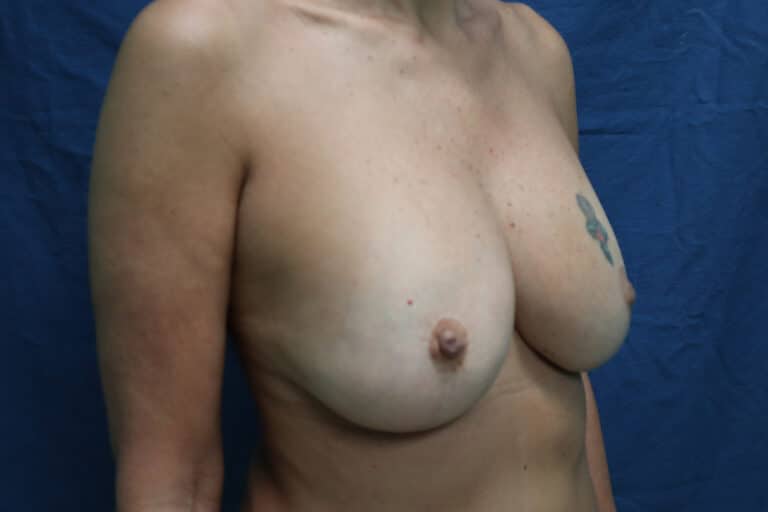
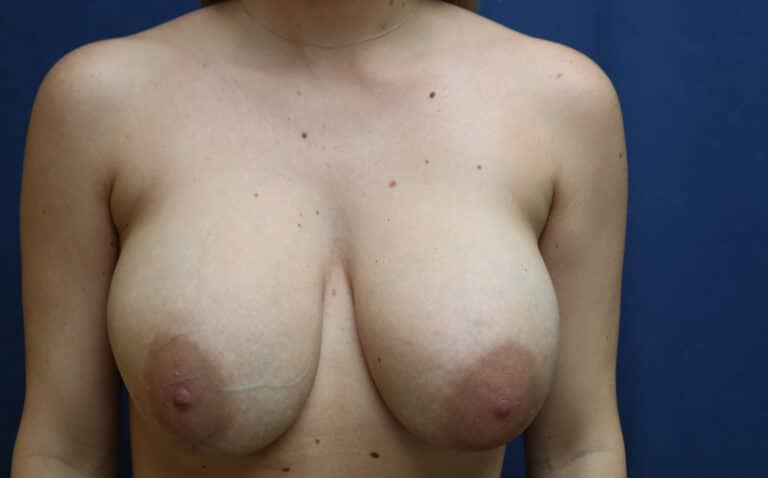
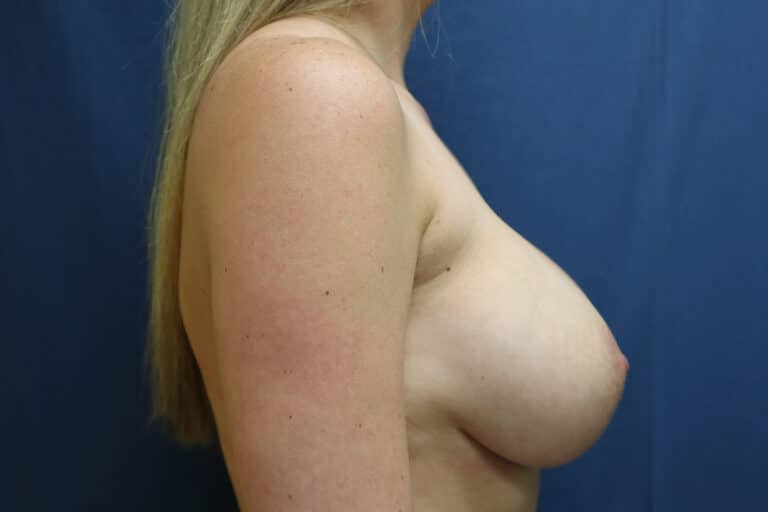
Breast Implant Exchange-Dr. Kenrick Spence Before and After Images Before and After Images Before and After Images Breast Implant Exchange-Dr. Kenrick SpenceView Case
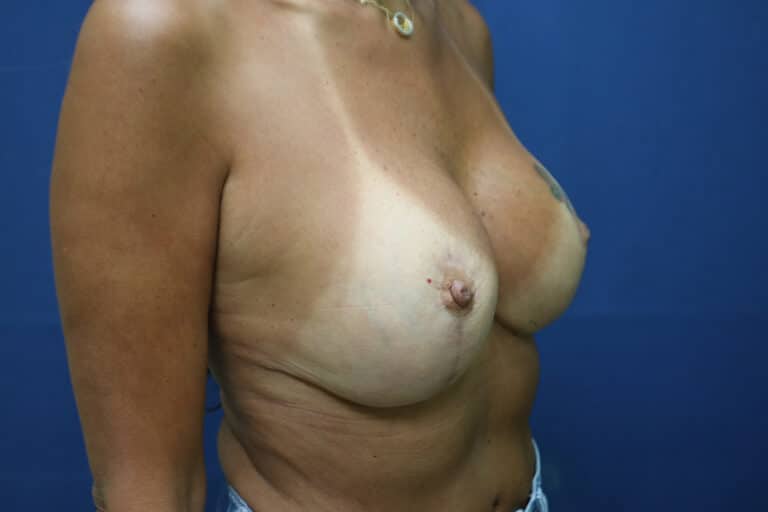
Breast Implant Exchange-Dr. Kenrick Spence Before and After Images Before and After Images Before and After Images Breast Implant Exchange-Dr. Kenrick SpenceView Case
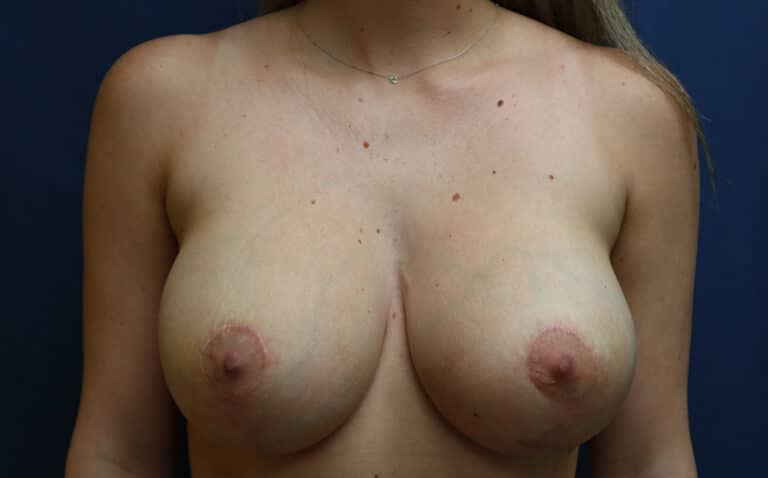
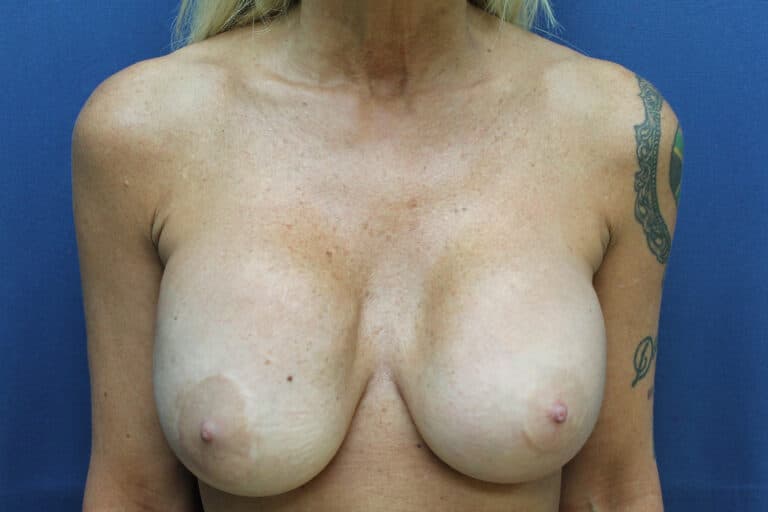
Bilateral Breast Implant Exchange-Dr. Kenrick Spence Before and After Images Before and After Images Before and After Images Bilateral Breast Implant Exchange-Dr. Kenrick SpenceView Case
Bilateral Breast Implant Exchange-Dr. Kenrick Spence Before and After Images Before and After Images Before and After Images Bilateral Breast Implant Exchange-Dr. Kenrick SpenceView Case